

1. Create a chatbot
1
Open the Chatbots page
Log in at eu.chatwize.ai. You land on
Chatbots.
2
Start the wizard
Click Create your first chatbot. If you already have one, the button reads
New chatbot. A three-step wizard opens.
3
Step 1 — Template
Pick a starting template that suits your situation and click Continue.
The template sets the tone and the boundaries of the bot; you can change
everything later.
4
Step 2 — Company
Fill in your company name and a chatbot name (both required). A
contact email is optional: it’s where the bot points visitors when it
doesn’t know something. Also pick the chatbot language: Dutch, English
or automatic.
5
Step 3 — Style
Pick a primary color and the widget position (right or left). A
preview appears on the right. Click Create chatbot.
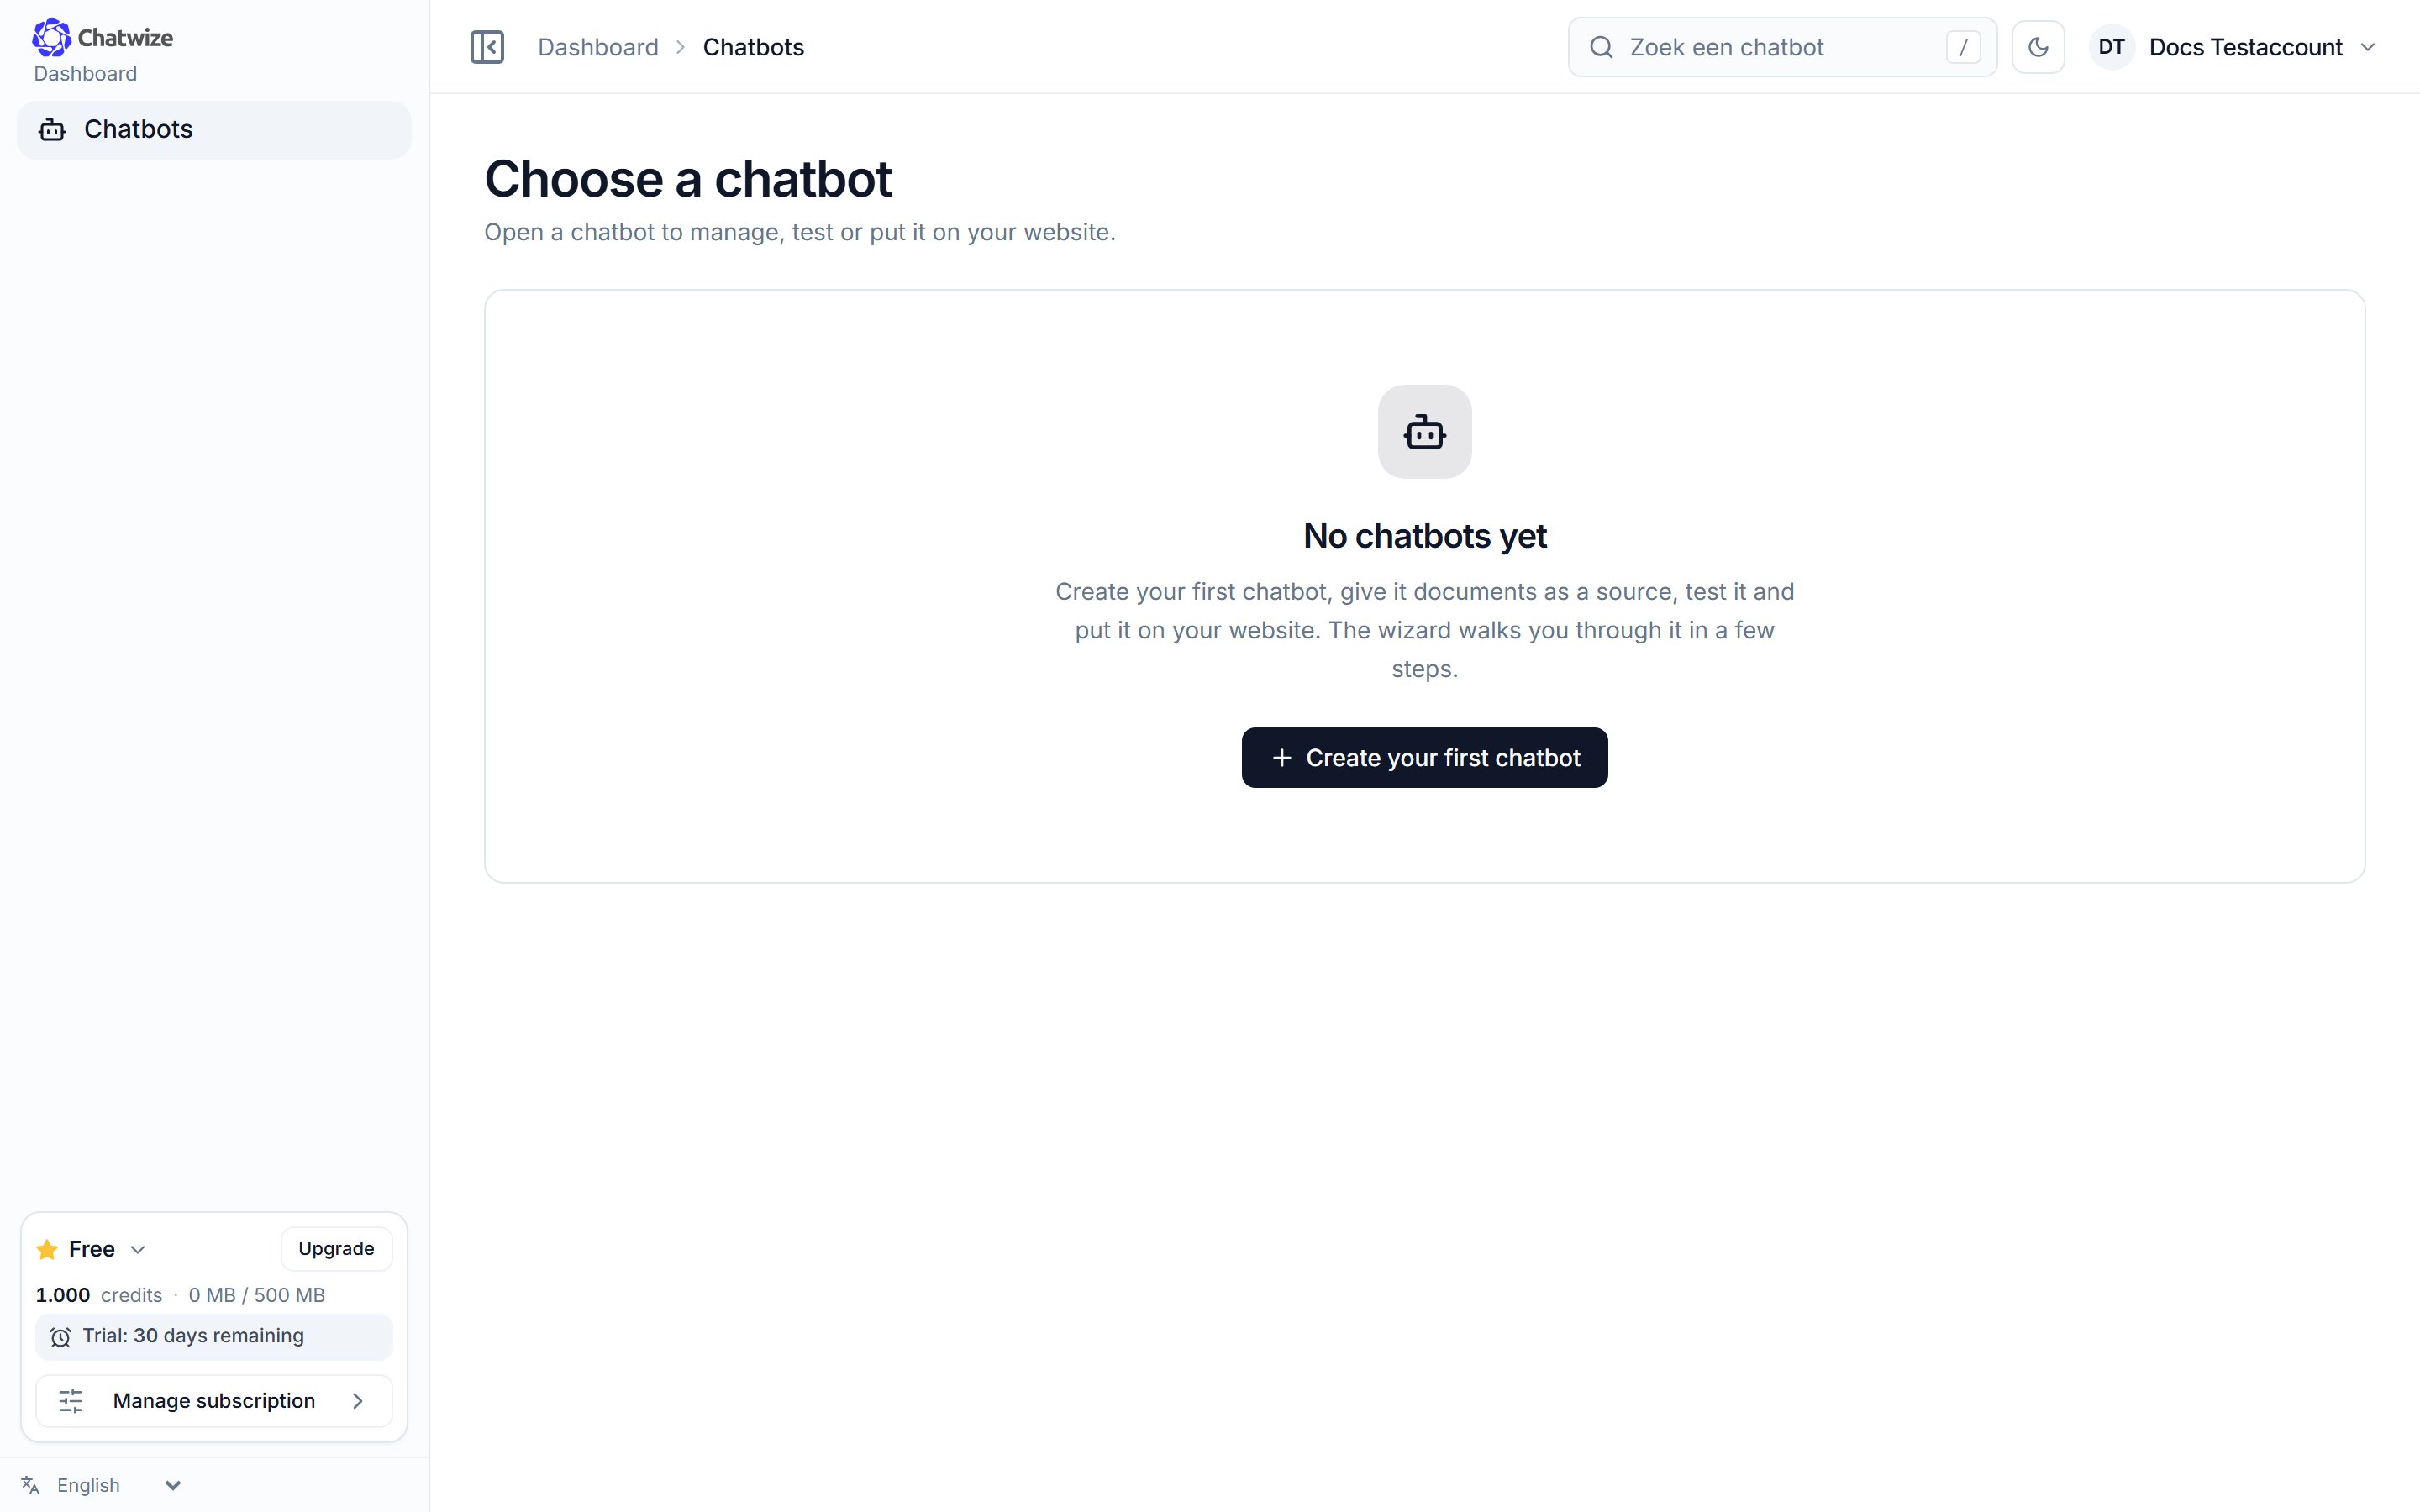
The Chatbots page. Click 'Create your first chatbot' to start the wizard.
Your new chatbot starts as a draft and you land on its Dashboard. The
first time, a short tour walks you past the main parts; you can skip it.
Everything you chose in the wizard can be changed later under Settings.
2. Add your knowledge
1
Open Sources
In the left sidebar, click Sources.
2
Open the Add tab
At the top are Overview and Add. On an empty chatbot you’re already
on Add. The first time, you confirm the one-off terms.
3
Choose how to add content
Pick File, Website, Web page, Sitemap or Questions and
answers and follow the prompts. Sources appear under Overview once
they’re processed.
3. Configure it
In the left sidebar, click Settings for the greeting, colors and avatar (see Widget customization), and AI agent for the instructions and tone (see AI agent).4. Publish it
1
Open Go live
In the left sidebar, under Publish, click Go live.
2
Choose 'On your website'
Open On your website, enter your website address, click Generate code
and copy the snippet.
3
Paste it on your site
Add the code to your website. The chat bubble appears automatically.
Collecting data
Capture names, email addresses and your own fields.
Handover to a person
Let visitors reach your team.